


Crafting Custom Laser-Etched Puzzles: A Comprehensive Guide
Laser-etched puzzles have emerged as a popular medium for creating personalized gifts or unique retail items. Whether you're a hobbyist, artisan, or entrepreneur, designing laser-etched puzzles with a laser engraver can be an exciting venture. This guide will walk you through the process of creating your own wooden laser-etched puzzle and how to finish it. Let's begin!
Introduction: A Thoughtful Gift or Distinctive Product
Laser-etched puzzles are not only visually appealing and intricate but also serve as meaningful gifts that can be treasured for a lifetime. They're ideal for celebrating special occasions like Valentine's Day, birthdays, and anniversaries. Moreover, bespoke laser-etched wooden puzzles can be a standout offering for your online shop or local craft market. With the potential to create 3D puzzles featuring different scenes or photos on each face, the creative possibilities are limitless. Let's explore how you can craft your very own laser-etched puzzle.
Required Materials and Equipment
-
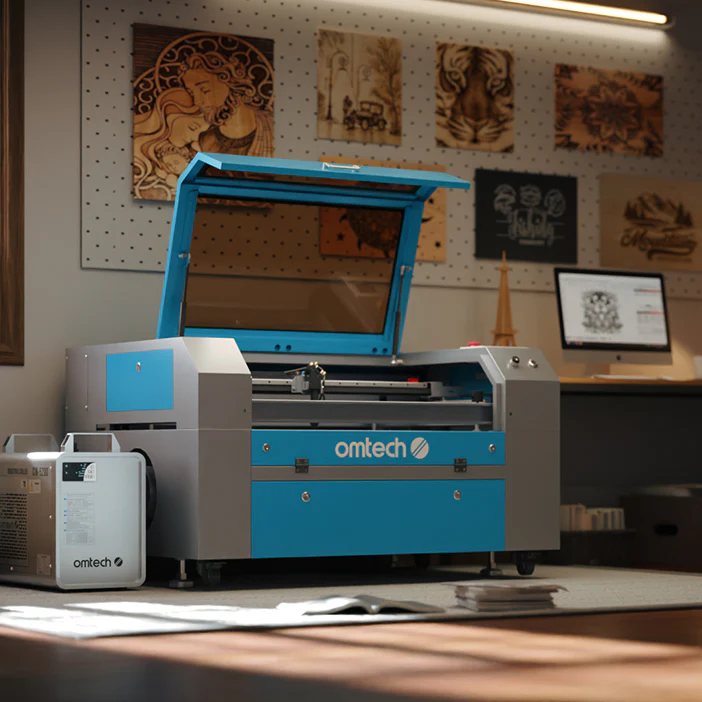
Laser Engraver
-
Wooden Boards (such as basswood or maple)
-
Image Editing Software (e.g., GIMP, Inkscape)
-
Laser Design Software
-
Isopropyl Alcohol, Wood Finish, and Cleaning Cloth
-
Puzzle Template (SVG format)
Step 1: Image Preparation

-
Select Your Image: Begin by choosing a personal photograph or high-quality image as the focal point of your laser-etched wooden puzzle.
-
Edit in Image Software: Open the image in your chosen editing software. Convert it to grayscale to enhance contrast, ensuring the details are prominent when engraved. Adjust the brightness and contrast to make the image clear and distinct.
-
Refine Background: If the background detracts from the main subjects, use blurring tools to create a subtle backdrop that emphasizes them. Experiment with settings until you achieve your desired result.
Step 2: Incorporating Text and Frame
-
Use Vector Software: With your edited image ready, open your vector graphics software. Add any desired text and borders to your puzzle design. Utilize blending modes to make the text stand out.
-
Convert and Combine: Use the appropriate tools to convert text to outlines. This ensures accurate printing of the text. Merge the border and text elements, then finalize your design.
Step 3: Importing Design into Laser Software
-
Export Design: Save your completed design from the vector software as an SVG file.
-
Import into Laser Software: Launch your laser design software and import the SVG file. Make any necessary adjustments, ensuring all layers and elements are correctly positioned.
-
Configure Settings: Use appropriate settings for wood engraving. Note that settings may vary depending on the image, so some experimentation may be needed. Online communities often share recommended settings, but as a starting point, try a Cut setting of 10% speed and 50% power, with an Engrave setting of 180% speed and 18% power.
Step 4: Creating the Puzzle Outline

-
Puzzle Generator: Utilize an online puzzle generator to create the outline for your puzzle. Customize the piece count and shapes as desired.
-
Incorporate Puzzle Outline: Download the puzzle outline as an SVG file and import it into your laser software. Overlay the outline on your image, ensuring it's set as the final cutting line.
Step 5: Engraving and Cutting Process
-
Engrave First: Begin by engraving the image onto the wood. Ensure proper alignment.
-
Cut Puzzle Pieces: Switch the laser to cutting mode and carefully cut out the puzzle pieces. For optimal engraving results, use unmasked wood.
Step 6: Post-Production Treatment
-
Cleaning: After cutting, some charring may occur. Use isopropyl alcohol and a cloth to gently clean the pieces, removing any residue and enhancing appearance. Consider applying a wood stain or polish for preservation.
-
Assembly and Inspection: Put the puzzle together to ensure all pieces fit correctly. Check for any damaged or poorly cut pieces and make adjustments if needed.
Exploring 3D Puzzles
Creating 3D puzzles offers an exciting way to expand your product range. Each face of a 3D puzzle can showcase a different image, photo, or scene. The core steps remain similar, but you'll be working with multiple faces and assembling them into a cube or other 3D shapes. SVG templates for these are also available online.
Conclusion
With a quality laser engraver, you have the tools to bring your creative visions to life. Whether you're crafting a custom gift or a unique product for sale, the precision and versatility of modern laser engravers make them an ideal choice. Explore the range of available engravers today and elevate your crafting or business ventures.
Creating your own laser-etched puzzles with a laser engraver is not only an enjoyable and creative project but also an excellent way to produce personalized or marketable items. With the right equipment and some experimentation, you can create stunning laser-etched wooden puzzles that will be cherished or sold quickly. So, gather your materials, power up your laser engraver, and start creating today!"