


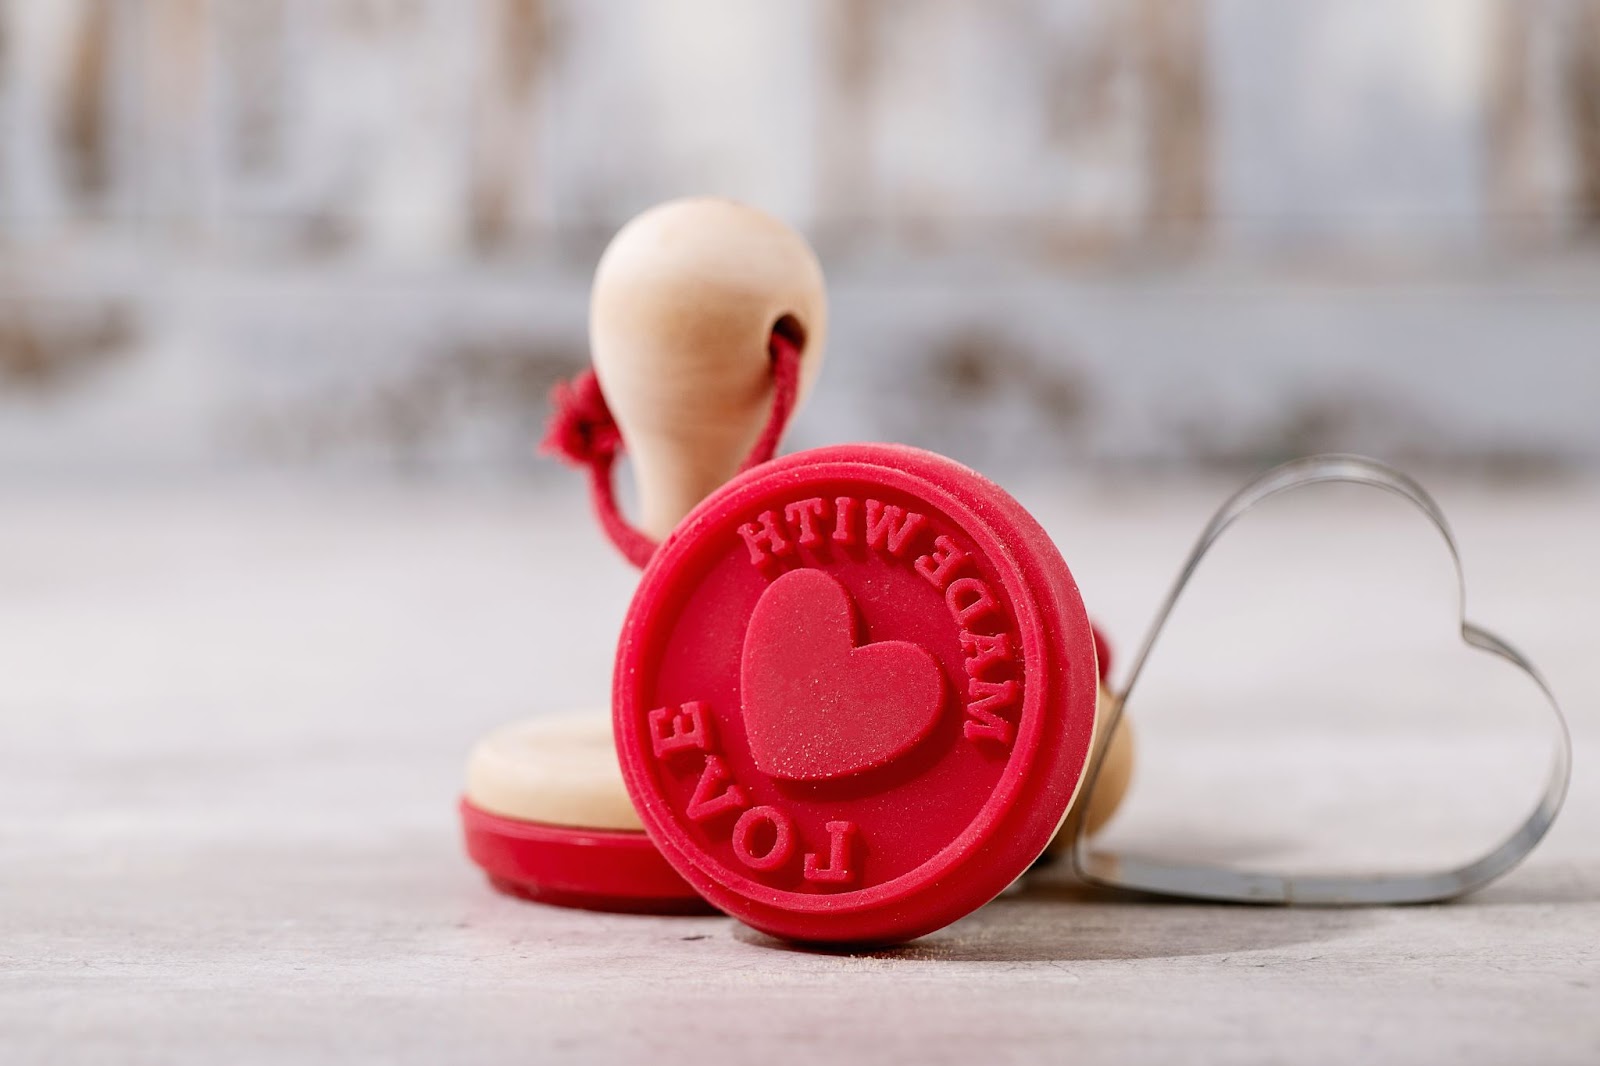
Crafting Custom Rubber Stamps with Laser Cutting: A Detailed Tutorial
Laser-cutting technology has revolutionized the creation of custom rubber stamps, offering exciting possibilities for crafters and entrepreneurs alike. This comprehensive guide will walk you through the process, provide essential tips, and suggest suitable equipment to help you embark on your laser-cut stamp-making journey.
Prioritizing Safety in Laser Cutting
Before delving into the world of laser-cut rubber stamps, it's essential to consider safety precautions:
-
Ensure proper ventilation in your workspace.
-
Use an air filtration system if possible.
-
Always wear appropriate eye protection.
Selecting the Ideal Rubber for Laser-Cut Stamps
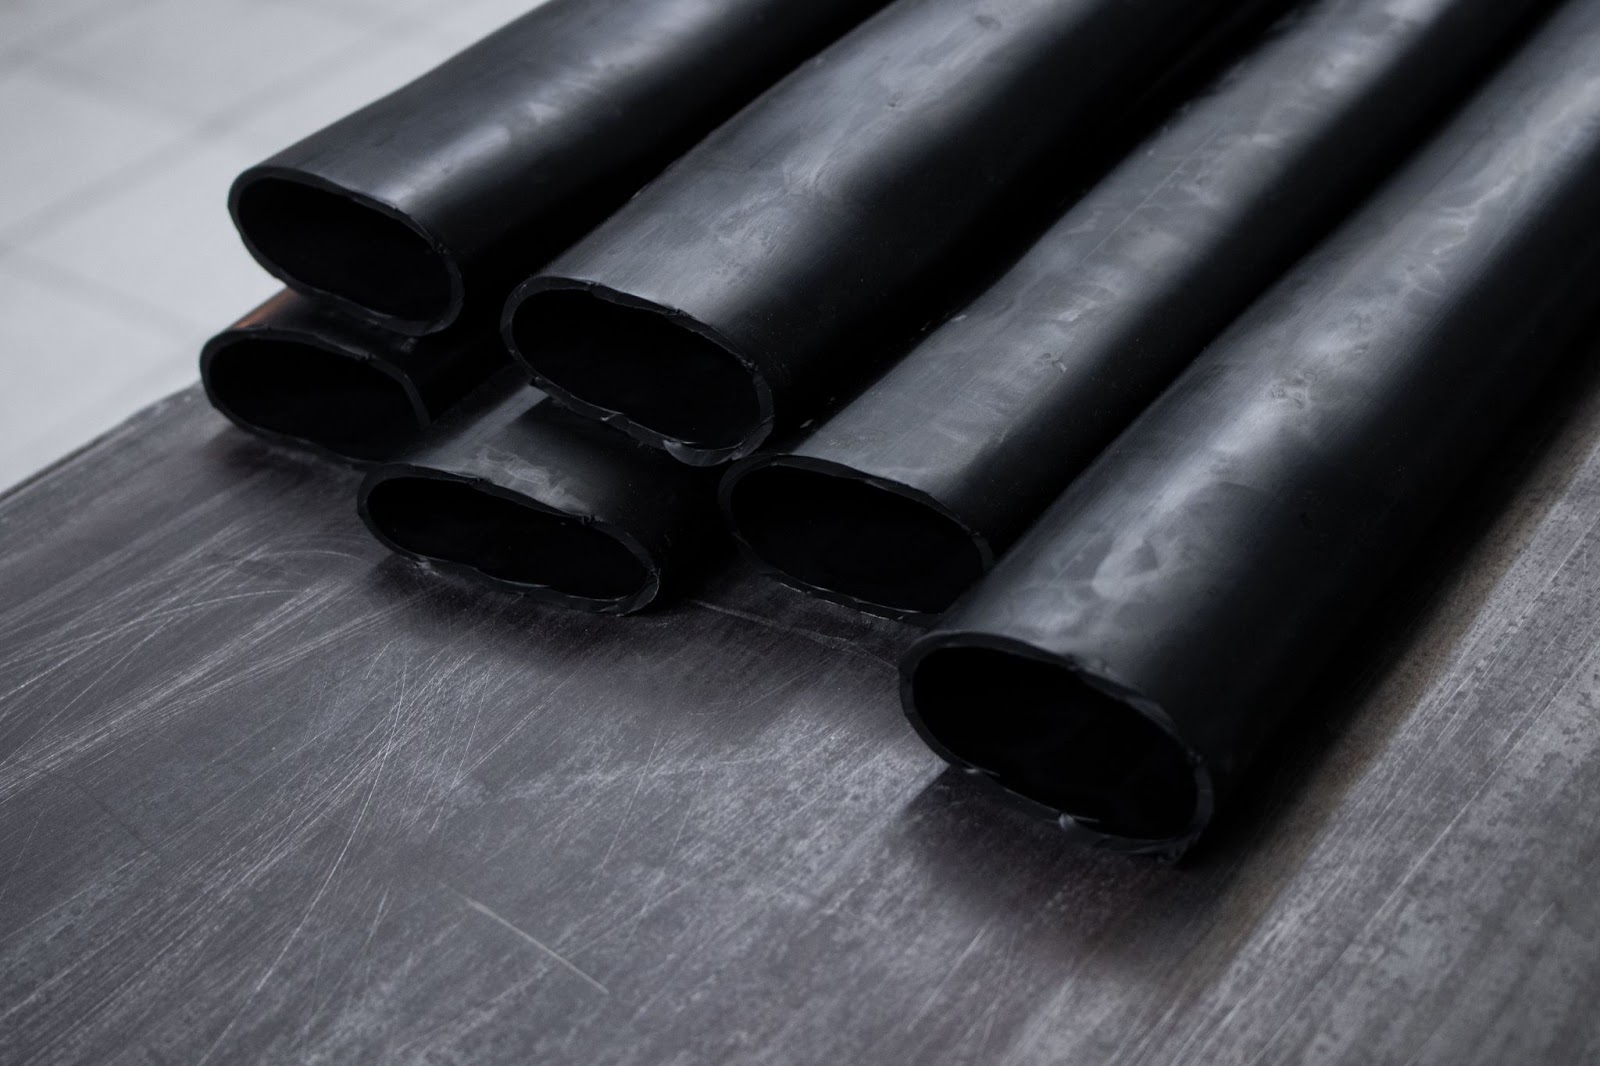
The success of your laser-cut rubber stamps largely depends on the material you choose. Consider these factors:
-
Durability: Aim for a balance between flexibility and firmness. Overly soft rubber may not produce clear impressions, while excessively hard rubber can be challenging to engrave and may not hold ink well.
-
Pigmentation: Darker rubber typically absorbs laser energy more effectively, resulting in superior engraving.
-
Width: A thickness of 2-3mm is generally suitable for most stamps.
-
Expert advice: Search for rubber sheets specifically designed for laser engraving stamps on online marketplaces. These materials are often optimized for laser-cutting applications.
A Step-by-Step Guide to Laser Cutting Rubber Stamps
Prepare Your Material
-
Remove any debris from the rubber surface.
-
Ensure the sheet is smooth and free of imperfections.
Design Your Stamp
-
Utilize vector graphics software to create your design.
-
Remember to invert your image for correct printing.
-
Consider the scale of various design elements, as very fine details may not engrave effectively.
Configure Your Laser Software
-
Import your design into your preferred laser cutting program.
-
Activate settings that allow you to preview the engraved result.
Choose Your Engraving Technique
Two primary methods exist for creating laser-cut rubber stamps:
a) Negative Space Approach
-
Create a filled shape as a background.
-
Place your design within this shape, also set to "fill."
-
The laser will engrave everything except your design.
b) Direct Engraving Approach
-
Set your design to "fill" and create a cut line around it.
-
The laser will directly engrave your design.
Optimize Laser Settings
-
Utilize features like "Ramp" if available to create sloped edges.
-
Adjust power and speed based on your specific equipment and material.
Execute the Engraving
-
Position the rubber sheet in your laser cutter.
-
Perform a test engraving on a small area before proceeding with the full design.
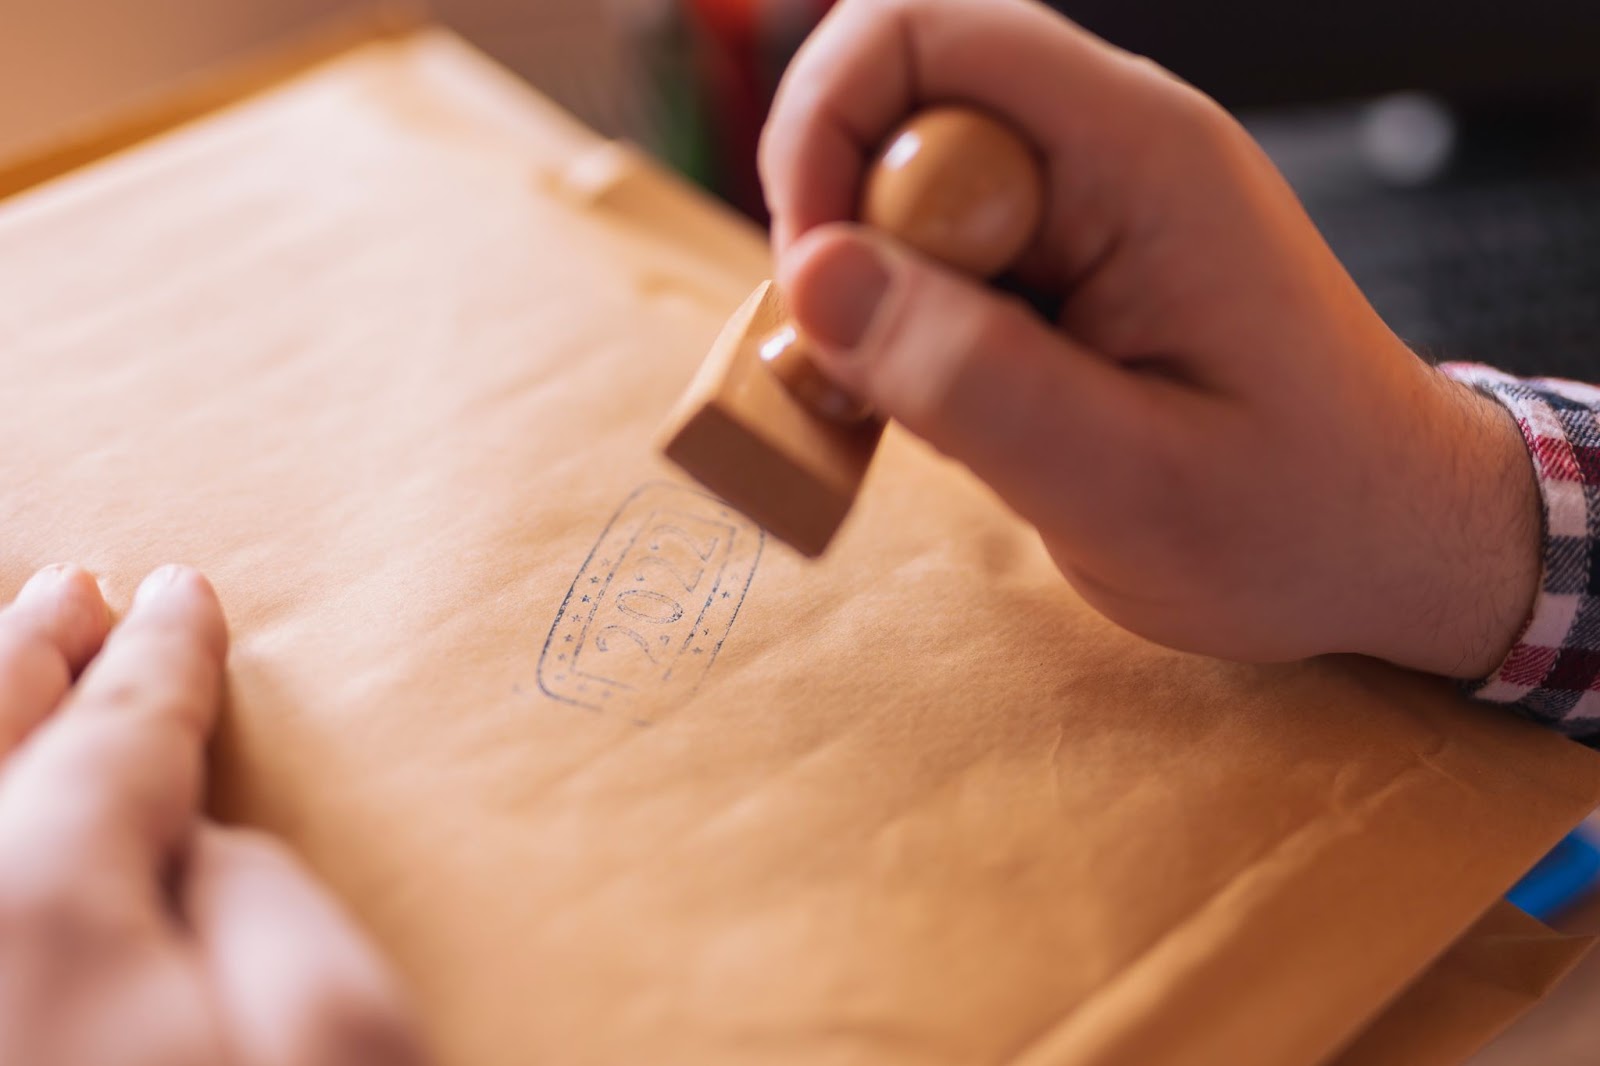
Finalize Your Stamp
-
Clean the engraved rubber to remove any residue.
-
Cut out your stamp using appropriate tools.
-
Mount the stamp on a suitable backing for ease of use.
Maximizing Results: Pro Tips
-
Engraving Depth: Aim for a depth of 0.5-1mm to maintain design stability.
-
Test Patterns: Create a sample with various settings to determine the optimal configuration.
-
Design Considerations: Avoid intricate details that may not engrave clearly.
-
Maintenance: Keep your laser's lens clean for consistent performance.
-
Mounting: Use lightweight materials for comfortable handling.
Common Pitfalls in Laser Engraving Rubber
To ensure successful outcomes, avoid these frequent mistakes:
-
Forgetting to mirror your design
-
Using excessive power settings
-
Neglecting proper ventilation or safety measures
-
Attempting to cut thick rubber with inadequate equipment
-
Rushing the process without proper testing
Laser Engravers for Rubber Stamp Creation
When selecting a laser engraver for rubber stamps, consider factors such as power output, work area size, and software compatibility. CO2 lasers typically outperform diode lasers for rubber engraving. A 30-80W laser should be sufficient for most applications.
OMTech Laser Engravers for Rubber Stamps
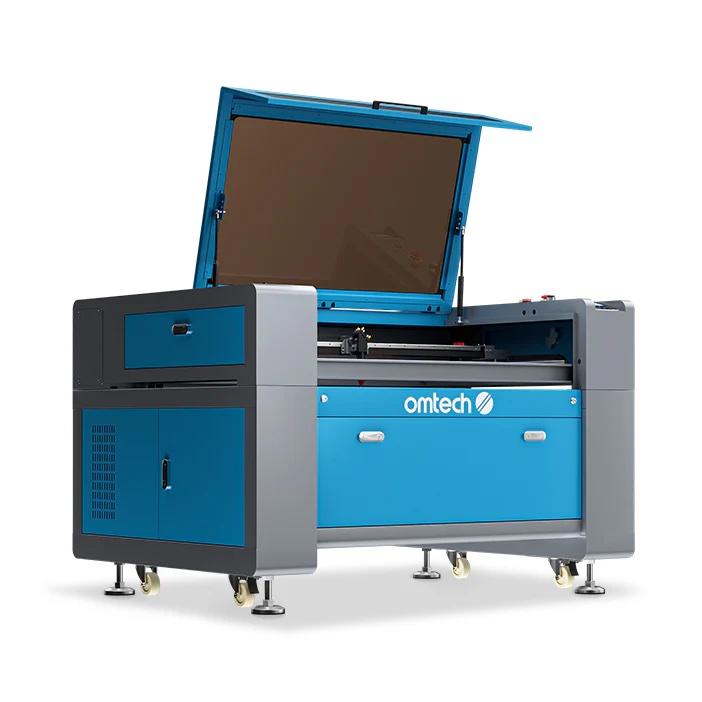
OMTech offers a range of suitable laser engraving machines for creating rubber stamps. Our CO2 laser engravers, particularly in the 40-60W range, are well-suited for this task. OMTech machines are known for their:
-
Intuitive interface
-
Compatibility with popular software
-
Durable construction
-
Excellent customer support
Whether you're a hobbyist or a small business owner, OMTech's laser engravers provide a reliable solution for producing high-quality laser-cut rubber stamps.
Conclusion
Mastering the art of laser-cut rubber stamps combines creativity with technological prowess. By following this guide and experimenting with various designs and settings, you'll soon be producing professional-quality stamps for personal use or even as a business venture.
Ready to embark on your laser-cutting journey? Explore OMTech's range of laser engravers today and find the perfect machine for your rubber stamp creations. Visit OMTech's website to learn more about their products and how they can help bring your stamp designs to life. With the right tools and knowledge, you'll be creating impressive laser-cut rubber stamps in no time!